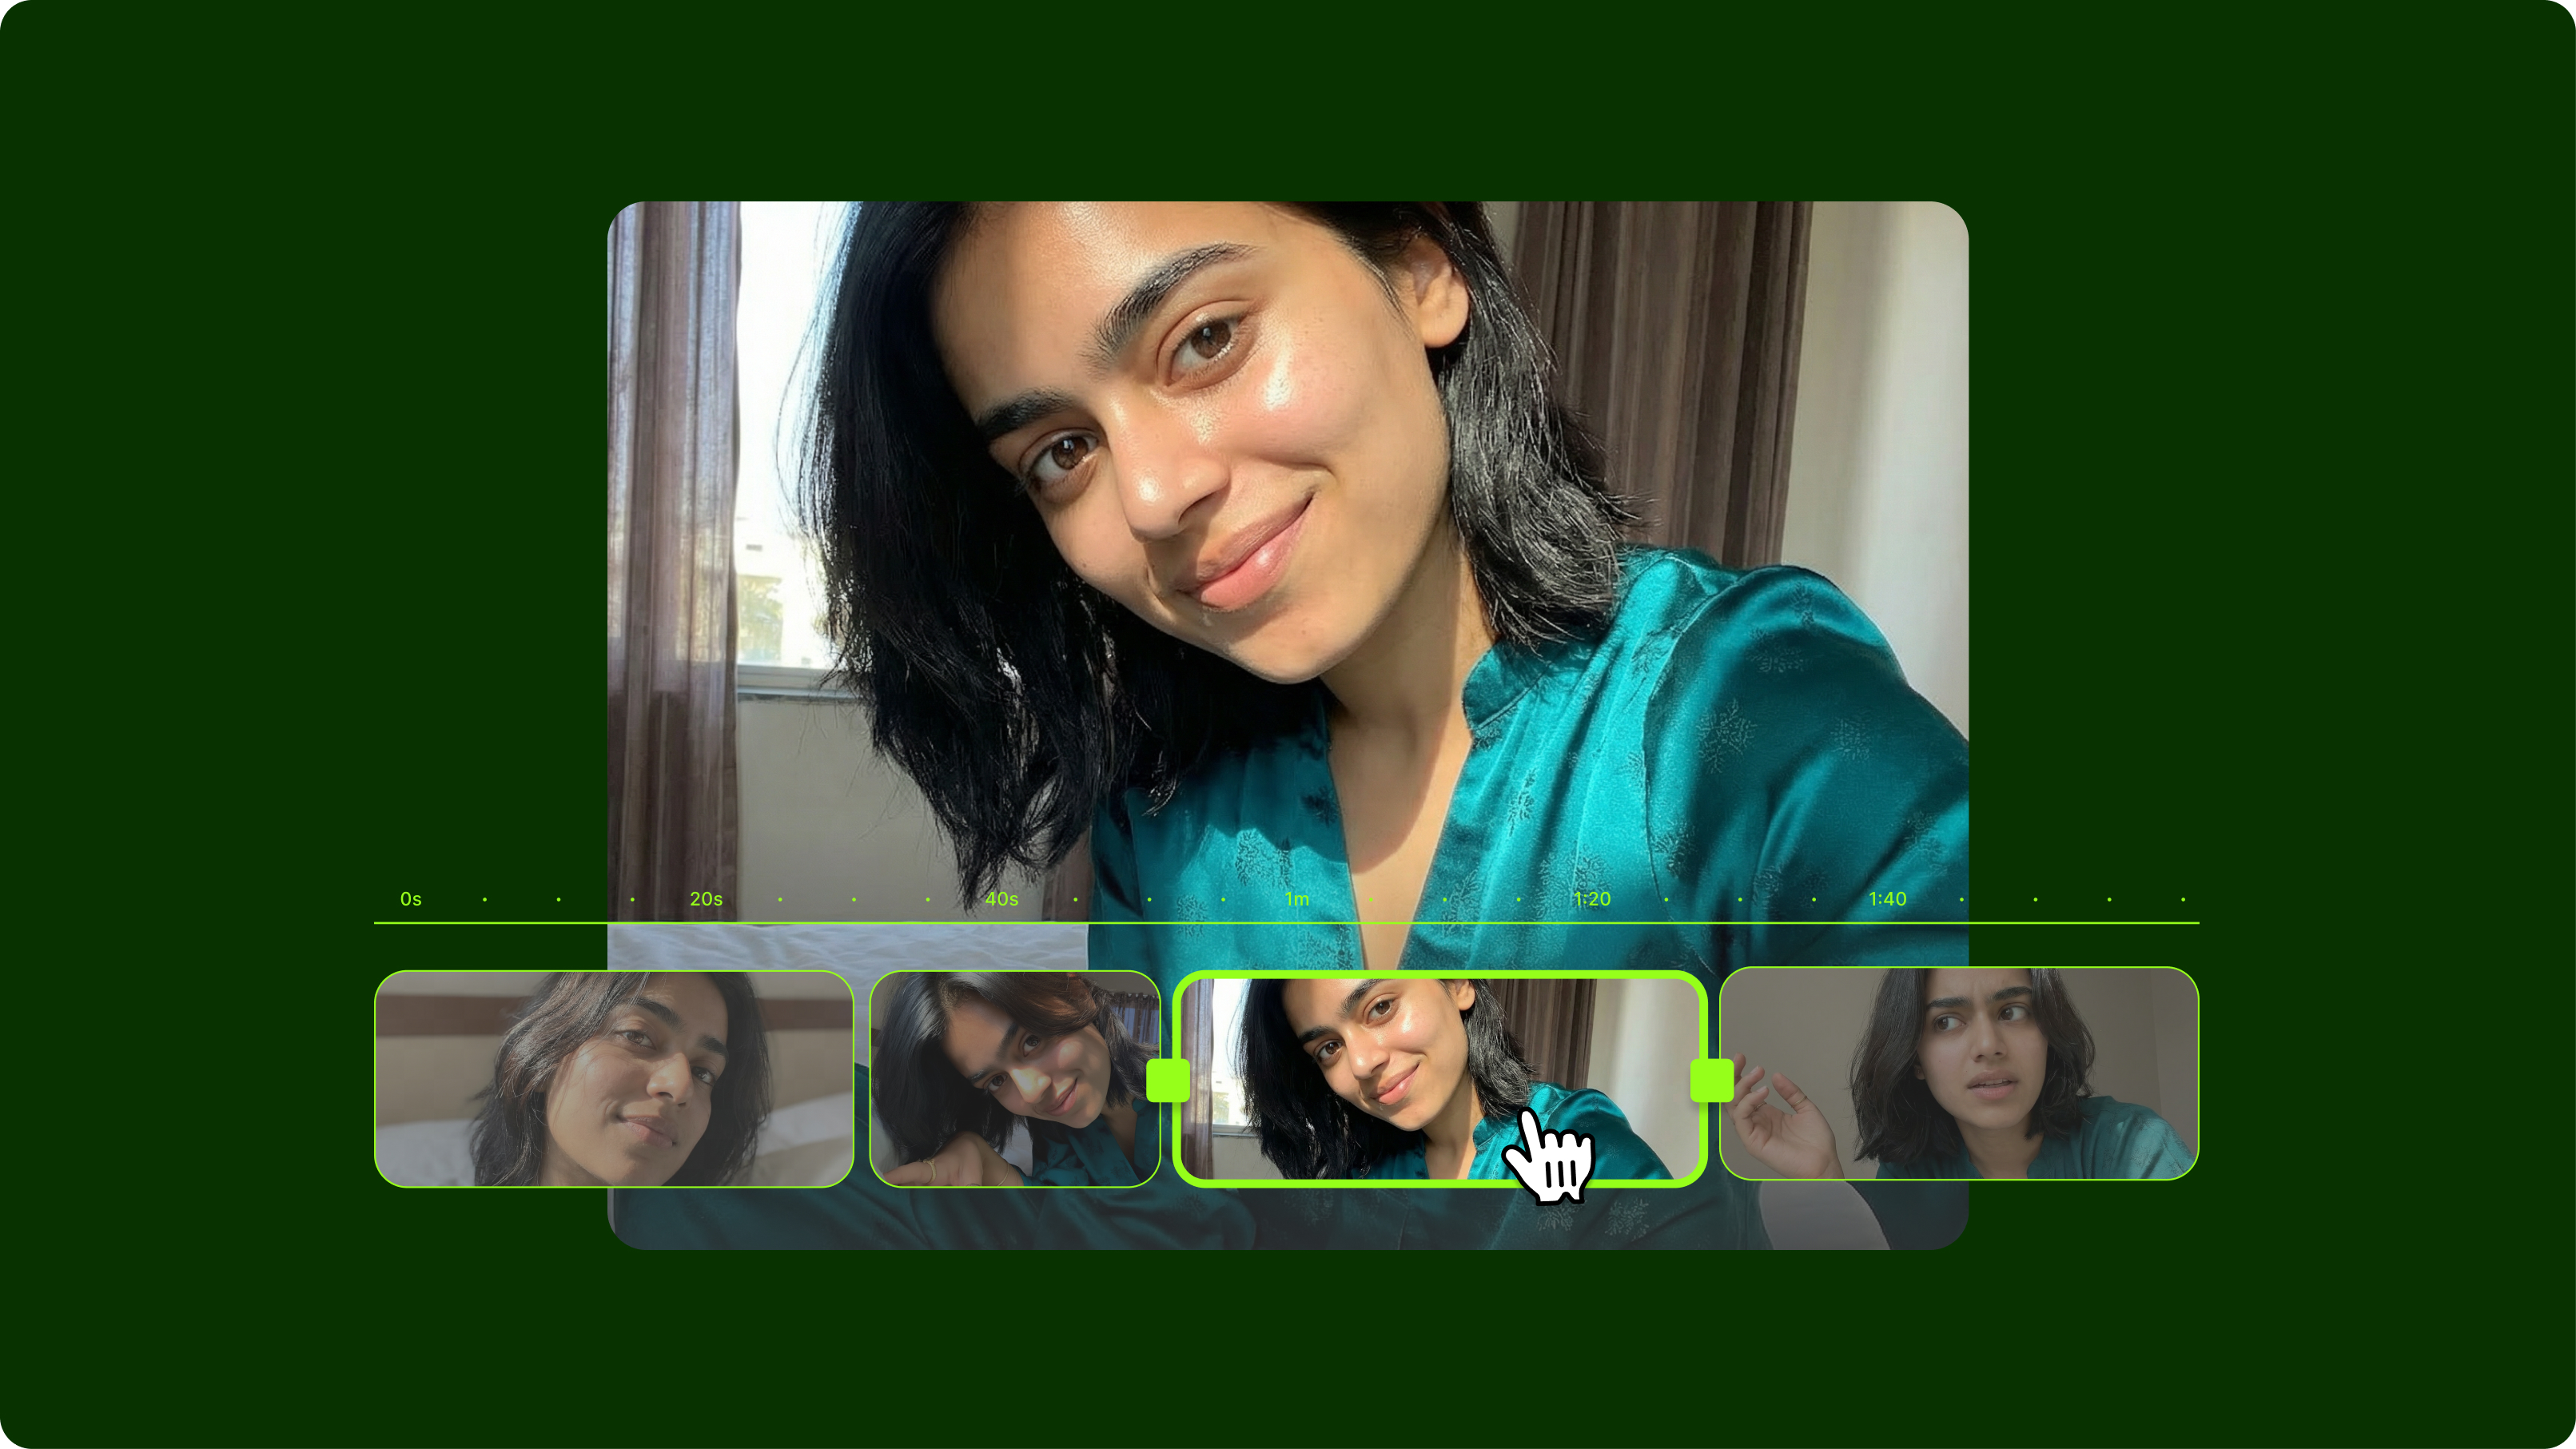
If your team edits videos regularly, whether for marketing, training, or customer stories, you’ve probably felt the pain of messy timelines, unclear feedback, or 27 versions of the same file floating around Slack.
The goal here isn’t to become the next Spielberg. It’s to help small teams, especially marketers, sales enablement folks, and training leads, create polished, on-brand videos without wasting hours.
This step-by-step guide is simple enough for non-editors to follow, but detailed enough to make a real difference in how you plan, edit, and deliver videos as a team.

Step 1: Organizing your raw footage
The first rule of editing? Don’t just start editing.
At least not until you’ve organized what you’re working with.
Teams often waste hours just trying to locate the right clip. And when multiple people collaborate on a project, say, a UGC testimonial that includes phone-shot footage, Zoom interviews, and a product walkthrough, it’s critical to start with structure.
How to organize like a pro in pre-production:
- Create a project folder template that everyone on the team uses: For example, under your main project folder (like CampaignName_VideoProject), create clearly labeled subfolders. One for A-roll (interviews and demos), one for B-roll footage (screen recordings, UGC, lifestyle clips), another for Audio (voiceovers, music, sound effects), a folder for Graphics (intros, lower-thirds, logos), and finally, one for Exports. Keeping this structure consistent across every video project helps your team quickly find what they need without digging through endless files.
- Stick to consistent naming: "2025_04_CustomerTestimonial_Emma_SonyA7iii.mp4" is searchable. "asdfghjk.mov" is not.
- Keep all assets in one place: You can absolutely use Google Drive or Dropbox for this, just make sure everyone agrees on the folder structure and keeps access secure, especially when multiple team members or freelancers are involved. But if you'd rather keep everything in a single platform where you can store, edit, and share videos, video editors like VEED let you do just that. Its collaborative Workspaces are built for teams, and you can upload, tag, and organize footage without bouncing between tools.
Starting here saves everyone time. It also gives your future self (or the next person picking up the project) a clear roadmap to work from.
Step 2: Start with your A-roll
A-roll is your main story arc, usually a talking head explaining something or walking viewers through a process. For a startup, this might be your CEO explaining a new feature. For a training team, it could be a sales leader giving onboarding instructions.
In other words: it’s your “main footage.”
When rough-cutting A-roll, the goal is to tighten the story—whether you’re editing manually or using automated video editing tools. Remove stutters, long pauses, awkward tangents, and anything that doesn’t serve the message.
How to do it:
- Watch everything once, and mark key moments with timestamps or comments noting quotes, product mentions, or good reactions. These markers will guide your rough cut, helping you quickly pull the best moments without rewatching hours of footage. They also make it easier to align B-roll footage or insert visual effects later on, since you’ve already mapped out where the story hits hardest.
- When you’re doing a rough cut, focus on clarity, not length. Remove:
- Dead air or long pauses
- Repetitive phrases
- Off-topic tangents
- Keep the narrative tight. If it’s a testimonial, focus on problem → solution → result. If it’s a demo, stick to benefits, not just features.
With VEED’s Edit with Script tool, you can trim directly from the transcript and even auto-remove silences, with zero timeline scrubbing. It’s great when multiple stakeholders are reviewing videos and want to jump straight to the parts that matter.
Step 3: Add B-roll that tells a story
B-roll is what makes your video visually engaging. It fills in the gaps, adds context, and keeps things moving.
If your A-roll is someone explaining a customer win, your B-roll might be a screen recording of them using your product, a product-in-use shot, or even casual UGC that sets the tone.
How to make your B-roll work harder:
- Match visuals with words: Think of B-roll as visual reinforcement. If your viewer could only hear your A-roll but see something else, what would help the message land best? For instance, if someone says, “this saved us hours,” you could show a sped-up screen capture or dashboard animation.
- Keep it on-brand: Use your own footage or UGC with brand-appropriate visuals. If you don’t have your own B-roll, experiment with AI B-rolls. They’re high-quality, quick to produce, and fully customized.
- Don’t overdo it: 3–5 seconds per insert is usually plenty. If it’s longer, make sure it drives the story forward.
- Layer strategically: Use B-roll to cover cuts or jumps in the A-roll without jarring transitions.
Step 4: Use transitions (but keep them clean)
Transitions glue your scenes together and keep the story flowing. But they’re also easy to overdo.
Let’s say your team is making a series of onboarding videos for new employees. You might want:
- Quick cuts between different speakers.
- Fade-ins for intro sections.
- Slide transitions when switching to screen recordings.
But what don’t you want? Spinning cubes or pixelated wipes.
The trick is to choose transitions based on the emotion or pacing you want to convey. A cut gives a sense of urgency. A fade suggests a pause or shift.
Video editing software like VEED offer built-in transitions and presets that strike this balance; they’re smooth and professional, so your team doesn’t spend hours debating whether to use a swirl or a dissolve.
Step 5: Adding sound effects and music
If your video is targeting customers, prospects, or new users, you want it to feel professional. And nothing kills the vibe faster than choppy audio or distracting background noise.
Whether you're producing a case study interview, a product walkthrough, or a training module for onboarding your audience is evaluating both your message and your presentation.
Crisp, well-balanced audio helps hold their attention longer and leaves a more polished impression.
Here’s how to add audio to your video right, even if you’re not an audio engineer:
- Balance your mix: Voices should be front and center, while background music should gently support without overpowering. A good rule of thumb is to keep music levels between -20 dB and -12 dB, and dialogue around -6 dB.
- Choose music with intention:
→ Launching a feature? Use an energetic, modern beat.
→ Telling a customer success story? Go for something uplifting but minimal.
→ Internal training video? Keep it low-key and instrumental. - Use transitions and sound effects sparingly: A subtle whoosh to introduce a slide is great. But too many effects can distract more than they help, especially in professional content.
- Stay legal: Always use royalty-free music or licensed tracks. Pulling music from random sources can lead to copyright flags or worse, content takedowns.
Most teams don’t use separate tools for audio editing, they handle it right within their video editor. With VEED, for example, you can work with your audio files directly on the timeline, tweak volume levels in real time, and manage playback without slowing down your workflow.
Built-in automation and intuitive shortcuts help you clean up sound quickly, which saves a lot of time, especially when juggling multiple video projects across team members.
Step 6: Add subtitles always
Facebook found that video ads with captions were watched 12% longer than those without. Meanwhile, 80% of viewers reacted negatively when mobile video ads played loudly in-feed.
Subtitles offer a quiet, user-friendly alternative, and they help with discoverability too. Adding captions can increase video traffic by nearly 7% on average, thanks to improved SEO.
Here are some simple rules of thumb you could follow when adding text to your video:
- Readable font: Sans serif, white or light yellow, with subtle background shadow
- Proper sizing: Not too big, not too small, legible on mobile
- Natural phrasing: Break lines at natural speech pauses, not just by character count
- Proofread: Auto-generated doesn’t mean accurate (especially with accents or product names)
Auto-subtitles can save a lot of time in the video editing process, especially when you're turning longer content into bite-sized clips for social or internal use. It helps when the subtitles are editable right inside the tool, so you can clean them up without jumping between platforms.
VEED offers this, and it’s something many teams use when repurposing content across different formats.
Step 7: Getting feedback from the team
Getting feedback on creatives is….unnecessarily hard.
Too many stakeholder reviews, subjective opinions, and feedback in different documents, tools, and Slack chats can derail your timelines fast. It also helps to track a document so you can monitor who has reviewed the content and keep feedback cycles moving.
More often than not, it’s not about the feedback itself, but the lack of a centralized place to collect and manage input across the team.
This especially shows up in B2B teams where different departments weigh in on a single video:
- Marketing wants the hook snappier.
- Sales wants the CTA moved up.
- Product wants to re-record a section because the UI is outdated.
You end up exporting five versions just to figure out what “almost there” really means.
Here’s how to streamline feedback and keep things moving post-production:
- Use timestamped feedback tools: Avoid vague messages like “somewhere around 1:30.” Tools like VEED let you send a review link where anyone (yes, even the less tech-savvy folks) can leave direct, time-based comments, no login required.
- Guide the feedback: Don’t just send a video and ask “thoughts?” Instead, ask specific questions like “Is the opening hook strong enough?” or “Does the product walkthrough feel clear by 0:45?”
- Set deadlines: Be explicit about review windows. “Please drop your comments by EOD Thursday” is way better than chasing approvals for a week.
- Avoid design-by-committee: Designate a final decision-maker, especially for branded or public-facing content. That way, feedback doesn’t loop endlessly.
A structured review process isn’t just about speed, it’s about sanity. When everyone knows where to look, how to give feedback, and what’s expected of them, you can actually finalize videos before the deadline (imagine that).
Best practices and bonus tips to streamline your editing process
Planning ahead with clear video briefs/storyboards.
When a video project kicks off with a vague Slack message like “We need something quick for LinkedIn,” that’s your red flag. Without a clear brief, timelines get fuzzy, roles get blurred, and you’ll end up guessing what people actually want.
Instead, align upfront. A one-pager video brief covering the goal, audience, tone, format, and key talking points gives everyone a shared starting point.
If you're working on a product demo, that might mean deciding: is this a technical walkthrough or a sales-friendly teaser? Even a rough storyboard helps stakeholders visualize the flow, reducing vague feedback later.
Clear briefs also cut down on approval rounds because when everyone agrees on the direction from the start, there are fewer surprises at the end.
Creating reusable video templates for recurring projects.
If you're making the same type of video every quarter, feature update videos, customer spotlights, and employee onboarding, you don’t need to start from scratch each time.
Build a reusable template with branded intros/outros, lower-thirds, and pre-approved music and font combos. This not only saves your editor hours but also limits creative debates. No one has to ask, “Should we use the blue CTA again?” It’s already baked in.
Templates become especially helpful when a stakeholder asks for “last quarter’s video, but updated.” You won’t waste time rebuilding it or figuring out what file version you used last time.
In VEED, you can duplicate projects, store brand assets, and create consistent layouts so your team members can roll out repeatable content without reinventing the wheel.
Standardizing editing guidelines and team documentation.
One person adds subtitles at the top, another adds them at the bottom. One person uses pop-up emojis in demos, another uses plain text. That’s how brand drift happens.
If multiple people contribute to video projects, whether they’re internal teammates or freelance editors, you need a shared playbook. Document everything from subtitle styling and logo placement to transition preferences and audio levels.
And don’t overthink it. A Notion page, Google Doc, or internal VEED folder works just fine. The goal is to stop subjective back-and-forth and reduce feedback that starts with “Can we just make it more... polished?”
Developing a checklist for reviewing and approving final cuts.
You’re done editing. You’re proud. You export and share it… only for someone to comment, “Oh, we forgot to include the CTA.”
A review checklist fixes that.
Before any video gets marked final, run through a standardized set of checks:
- Are subtitles accurate and timed well?
- Are brand elements (colors, logos, fonts) in place?
- Is the CTA included and visible?
- Has someone from the product reviewed the walkthrough?
- Is the video export optimized for the right channel (e.g., square for Instagram, widescreen for YouTube)?
This checklist keeps your final stretch focused and avoids last-minute surprises like someone noticing the wrong logo five minutes before launch.
Conducting retros to improve processes continuously.
Once the video goes live, most teams just move on. But the best teams pause to ask: What actually happened behind the scenes?
Did we spend too long editing because the footage was messy? Did feedback come in too late? Did we send it to leadership before the product even looked at it?
Even a 15-minute retro helps uncover where things broke down or went surprisingly well. Capture those lessons in a shared doc or team wiki so you’re not starting from zero next time.
Over time, this reflection turns video chaos into a process you can trust.
Remember the 321 rule.
Every team has that one story, someone accidentally deleted the final video file, or a shared drive sync failed right before launch. It’s painful. It’s avoidable.
The 3-2-1 rule is your insurance policy:
- 3 copies of your final video
- 2 different storage types (e.g., cloud + local drive)
- 1 off-site backup (another cloud or external storage service)
Here’s how it plays out for most teams:
- Your editor exports the final cut and stores it in the team’s shared VEED workspace.
- A copy is also saved in Google Drive (organized in your usual campaign folder).
- A backup is exported to an external SSD or synced to Dropbox as a versioned archive.
This protects you from file corruption, sync errors, or the classic “I thought someone else had the final version.”
Especially when you’re working with freelance editors, remote teams, or multiple rounds of approvals, a solid backup strategy keeps the stress down and ensures you’re not scrambling to recreate a finished product days before launch.
Maintaining open and proactive communication channels between stakeholders and editors.
Most editing process delays aren’t caused by editing. They’re caused by silence.
Someone assumes the editor knows what to do. The editor assumes someone else gave final sign-off. The stakeholder drops “quick feedback” at 10 p.m. on launch day. Sound familiar?
That’s why proactive, consistent communication matters. Set clear check-ins, maybe async Loom updates, or a short weekly standup to keep everyone in the loop.
Make it easy for stakeholders to share intent, not just opinion. For example:
❌ “This intro doesn’t feel right.”
✅ “We want to highlight the problem first so the product tutorial lands harder.”
When editors and stakeholders communicate with clarity and context, videos get done faster and come out stronger.
Make your next video easier. And better.
Creating high-quality videos as a small team isn’t about fancy effects or cinematic storytelling. It’s about building a repeatable process that keeps everyone aligned from kickoff to final product.
Here’s a quick recap:
- Organize your footage before editing so you’re not chasing files later.
- Cut your A-roll with purpose, focusing on clarity and narrative flow.
- Add B-roll, transitions, music, and subtitles strategically; each element should support your message, not distract from it.
- Get structured feedback using collaborative tools and clear deadlines.
- Follow best practices like creating reusable templates, standardizing styles, and running post-mortems to continuously improve.
- And always back up your work with the 3-2-1 rule.
With the right workflow and the right tools (like VEED), your team can go from messy timelines and unclear feedback to fast, polished, on-brand video content every time.
Now go make something great.
.png)